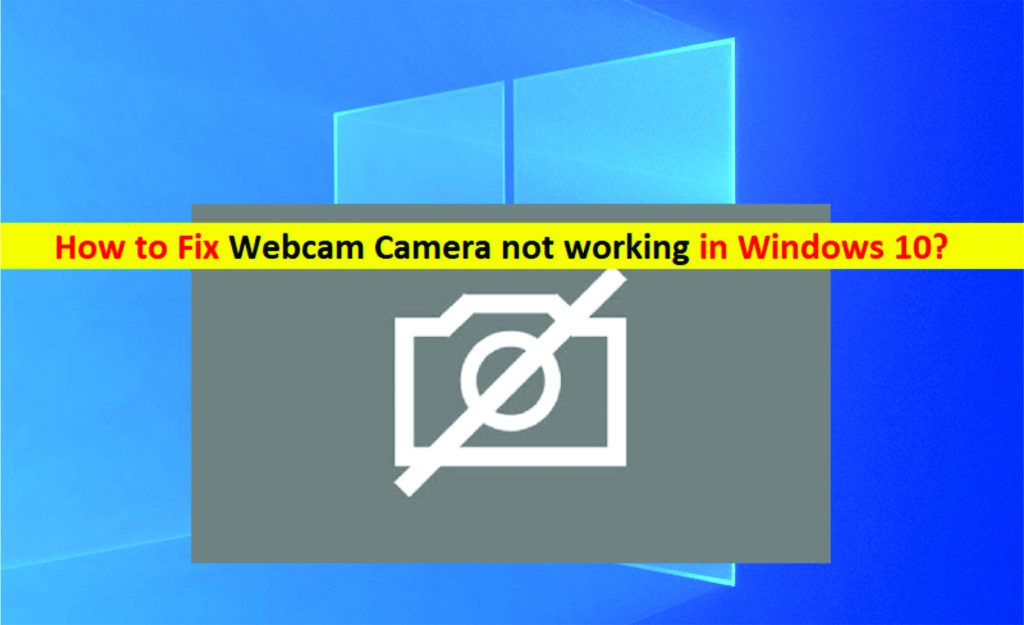
Knowing how to fix some basic hardware issues is a good advantage to have or know as a tech personnel and also as one who uses a computer, with the insights provided below you can get to understand and know the steps to take in fixing your webcam if it is not working in windows 10. When your camera isn’t working in Windows 10, it might be missing drivers after a recent update. It’s also possible that your anti-virus program is blocking the camera, your privacy settings don’t allow camera access for some applications, or there’s a problem with the app you want to use. With lots of processes that involve a webcam in this way or another, and the growing number of various software using webcam potential, Visualization and video streaming have become an integral part of everyday use for computing devices. Unfortunately, built-in (in laptops) or external webcams (for desktop PCs) do not always work properly in Windows 10, And there are a few reasons why. Various bugs with webcams can be eliminated both with typical troubleshooting methods and the new system option available in Windows 10 that is in charge of managing your webcam in all applications you have on your computer. We will describe in detail the possible methods of fixing webcam issues. Below are the steps on how to go about resolving the problem;
Before you begin
Start by running the automated camera troubleshooter in the Get Help app. Get Help automatically runs diagnostics and takes the correct steps to fix most camera issues.
Open Get Help
If the Get Help app is unable to resolve your camera issue, do these steps first before working through the possible solutions listed:
Check for updates. Select Start, then select Settings > Update & Security > Windows Update > Check for updates. If you see the option to View optional updates, select it to see if there are updates available for your camera. Allow available updates to install, then restart your device when it’s ready.
Restart your PC. If you haven’t restarted your device since the camera stopped working, you should do so. Select Start, then select Power > Restart. Waking up your device from sleep isn’t the same thing as a restart.
Test your camera with the Camera app. Select Start, then choose Camera from the list of apps. If you’re asked to allow access to the Camera, select Yes. If the camera works in the Camera app, the problem might be with the app you’re trying to use.
Open Camera
If your camera still doesn’t work, here are some other things to try. For best results, try the possible fixes in the order presented.
Check for a camera switch or button your device
Some laptops and portable devices have a physical switch or button that turns the camera on or off. When turned off, your device won’t recognize that there’s a camera installed, or may cause your camera to show an image of a camera with a slash through it. If your computer has a switch or button, make sure it’s in the on position before using your camera.

Check your settings
Give your apps permission
If you recently updated Windows 10, you might need to give apps permission to use the camera. In newer versions of Windows 10, some apps don’t have default access to the camera.
To let your device access the camera, select Start, then select Settings > Privacy > Camera. In Allow access to the camera on this device, if Camera access for this device is turned off, select Change and turn on Camera access for this device.
Allow access to the camera on this device
Note: If camera access for the device is turned off and you can’t select Change, you’ll need an administrator on the device to turn on camera access for you.
Before any app can access your camera, make sure camera access is turned on for apps in your user account. Make sure that Allow apps to access your camera is turned on.
After allowing access to the camera, go to Choose which Microsoft Store apps can access your camera and turn on camera access for the apps you want. Only apps installed from the Microsoft Store will show in this list.
If you installed the app from the internet, a disc, a USB drive, or your IT administrator installed the app for you, it might not be a Microsoft Store app. To check, go to Allow desktop apps access to your camera and make sure it’s turned on. Internet browsers (like Microsoft Edge) and many video conferencing apps (like Microsoft Teams) are desktop apps that require this setting to be turned on.
Check your antivirus software
In your antivirus software settings, look for settings that block access to your camera or permission to use your camera. For help, visit your antivirus software company’s website
Check your hardware drivers
Try a different USB port and scan for hardware changes.
If you’re using an external camera, try using it with a different USB port on your device first. If that doesn’t work, or your camera is built-in to your device, try this:
Select Start, enter device manager, then select it from the search results
Find your camera under Cameras, Imaging devices or Sound, video and game controllers.
If you can’t find your camera, select the Action menu, then select Scan for hardware changes.
Wait for it to scan and reinstall updated drivers, restart your device, then try opening the Camera app again.
If these steps don’t fix your issue, continue to the next steps, which are outlined as below;

Check for an incompatible camera driver
Some older cameras that were designed for older devices aren’t compatible with Windows 10. Here’s how to check if you have if your camera is compatible:
In Device Manager, look for your camera under Cameras, Imaging devices or Sound, video and game controllers.
Right-click (or press and hold) on the name of your camera, and then select Properties.
Select the Driver tab, select the Driver Details button, and look for a file name that includes stream.sys. If it’s there, your camera was designed before Windows 7 and you’ll have to replace it with a newer camera.
If you don’t find a file name that includes stream.sys, continue to the next steps.
Roll back the camera driver
If your camera stopped working after an update, try these steps:
In Device Manager, right-click (or press and hold) on your camera, and then select Properties.
Select the Driver tab, select Roll Back Driver, and then choose Yes. (Some drivers don’t provide this option. If your driver doesn’t have Roll Back Driver available, go ahead to the next fix.)
After the roll back is complete, restart your device, and then try opening the Camera app again.
If rolling back didn’t work or isn’t available, continue to the next steps as shown below;
Uninstall your camera driver and scan for hardware changes
In Device Manager, press and hold (or right-click) your camera, and then select Properties.
Select the Driver tab, then select Uninstall Device. Select the check box for Delete the driver software for this device, then select OK.
In Device Manager, on the Action menu, select Scan for hardware changes.
Wait for it to scan and reinstall updated drivers, restart your PC, and then try opening the Camera app again.
Note: If your camera still doesn’t work, look for help on the camera manufacturer’s website